How to Make Custom c arms for Custom Model
Step by step how to make c_arms for a custom model.
Hello, my name is Clamcy or known as just Clancy! I’m the one who ported half percent of models in the Sunrust server. In this tutorial, I’m going to show you how to make custom c_arms for a custom model.
First, you need to download these below: -Blender (https://www.blender.org/download/) download the 2.79 version -Blender Source Tool (http://steamreview.org/BlenderSourceTools/) -Vtfedit(https://nemstools.github.io/pages/VTFLib-Download.html) -C_Arms model(https://drive.google.com/file/d/1H-Fy96utm67TE_Yvd_Y4wQOeuMd8PhQN/view?usp=sharing) -Crowbar(https://steamcommunity.com/groups/CrowbarTool)
Before we going for the step you should install the addons first but I recommend searching for a tutorial on YouTube or Google. Alright, let’s continue!
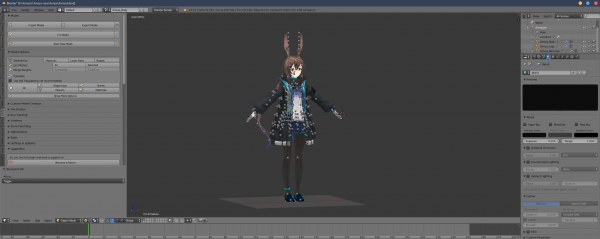
Open your Blender and then Import the model.
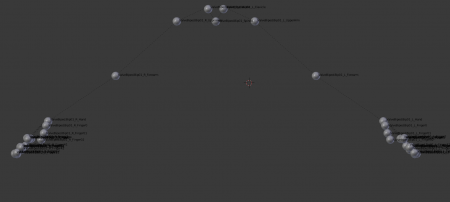
Next is to delete some of the bones. Here is the list of the bones that you shouldn’t delete: -ValveBiped.Bip01_R_Clavicle -ValveBiped.Bip01_R_UpperArm -ValveBiped.Bip01_R_Forearm
-ValveBiped.Bip01_R_Hand -ValveBiped.Bip01_R_Finger0 -ValveBiped.Bip01_R_Finger01 -ValveBiped.Bip01_R_Finger02 -ValveBiped.Bip01_R_Finger1 -ValveBiped.Bip01_R_Finger11 -ValveBiped.Bip01_R_Finger12 -ValveBiped.Bip01_R_Finger2 -ValveBiped.Bip01_R_Finger21 -ValveBiped.Bip01_R_Finger22 -ValveBiped.Bip01_R_Finger3 -ValveBiped.Bip01_R_Finger31 -ValveBiped.Bip01_R_Finger32 -ValveBiped.Bip01_R_Finger4 -ValveBiped.Bip01_R_Finger41 -ValveBiped.Bip01_R_Finger42
-ValveBiped.Bip01_L_Clavicle -ValveBiped.Bip01_L_UpperArm -ValveBiped.Bip01_L_Forearm
-ValveBiped.Bip01_L_Hand -ValveBiped.Bip01_L_Finger0 -ValveBiped.Bip01_L_Finger01 -ValveBiped.Bip01_L_Finger02 -ValveBiped.Bip01_L_Finger1 -ValveBiped.Bip01_L_Finger11 -ValveBiped.Bip01_L_Finger12 -ValveBiped.Bip01_L_Finger2 -ValveBiped.Bip01_L_Finger21 -ValveBiped.Bip01_L_Finger22 -ValveBiped.Bip01_L_Finger3 -ValveBiped.Bip01_L_Finger31 -ValveBiped.Bip01_L_Finger32 -ValveBiped.Bip01_L_Finger4 -ValveBiped.Bip01_L_Finger41 -ValveBiped.Bip01_L_Finger42
-ValveBiped.Bip01_R_Thigh -ValveBiped.Bip01_R_Calf -ValveBiped.Bip01_R_Foot -ValveBiped.Bip01_R_Toe0
-ValveBiped.Bip01_L_Thigh -ValveBiped.Bip01_L_Calf -ValveBiped.Bip01_L_Foot -ValveBiped.Bip01_L_Toe0
-ValveBiped.Bip01_Spine4
After that starts deleting the body but keeps the arms.
After that make sure the pose the arms if there are rigging issues
Next, export your c_arms and then open the c_arms blend
If you see this text screen it’s found click the
and then change it into 3d view
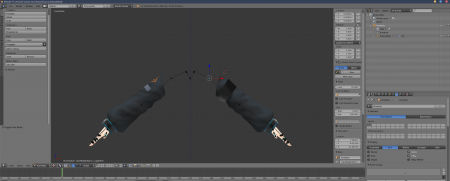
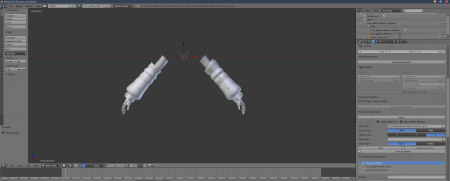
As you can see there are the skeleton arms we will use for our custom c_arms
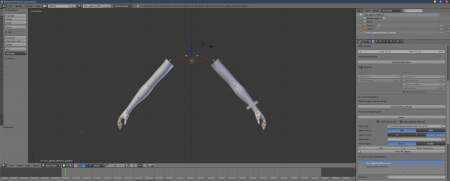
Pose your arms in the same pose as the miku_append_reference don’t worry to get a perfect size just pose it the same pose as the miku_append_reference arms model.
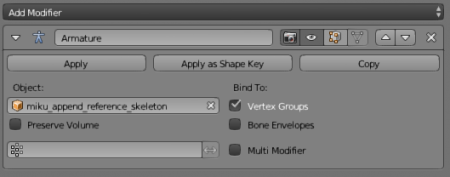
After that, you need to apply the armature or change the object into to miku_append_reference skeleton
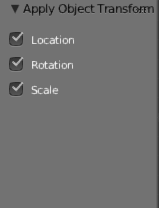
And then select your custom skeleton and also the custom c_arms and then press space, search apply object transform this is to make sure to not make the model come back to their original position and check all the little box in your bottom left screen.
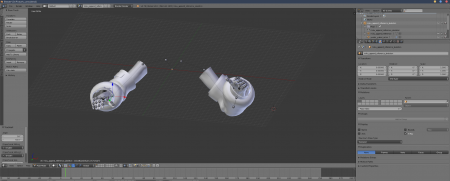
Select your mesh and go to edit, if it’s back to its original position then you need to redo the process of applying the object transform
After that delete the miku_append_reference mesh and also your custom skeleton, and then try to pose your arms to see if it’s a problem.
To reset the rotation, scale, and position, press alt+r to reset the rotation, alt+g reset location, alt+s reset scale. Go to pose mode, select all press A, and then set the start frame to 0, end to 1, and current frame to 0. Press I and click LocRotScale go to the Miku skeleton that we just use and then rename it to idle.
Hit export
Next, open your qc and type this as the following.
$modelname "path_name\name_of_mdl.mdl"
$bodygroup "hands" { studio "Model_name.dmx/smd" }
$surfaceprop "flesh"
$contents "solid"
$cdmaterials "material_path"
$sequence "idle" "anims\idle.dmx" { fps 30 }
$includemodel "weapons/c_arms_animations.mdl"
Example: $modelname "amiya\arknights\clancy\arms\amiya_arms.mdl"
$bodygroup "hands" { studio "Amiya_Arms.dmx" }
$surfaceprop "flesh"
$contents "solid"
$cdmaterials "model\amiya\arknights\clancy\"
$sequence "idle" "anims\idle.dmx" { fps 30 }
$includemodel "weapons/c_arms_animations.mdl"
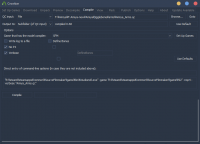
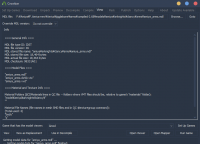
After that open crowbar go to compile Click Qc input, search your qc and done. And then Output change it to subfolder and compile
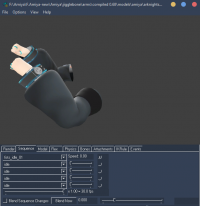
After compiling click Use in View and view your arms.
After that click options and center view, next, go to sequence and change the animation that you prefer
Ok, almost there but we need to do some Lua so create a Lua file and copy this code in your Lua file
player_manager.AddValidHands( "Name your model what you want", "path/mdl_name.mdl", 0, "00000000" )
Example: player_manager.AddValidHands( "Arknights - Amiya", "models/amiya/arknights/clancy/arms/amiya_arms.mdl", 0, "00000000" )
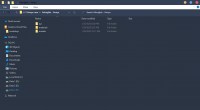
After that you want to organize your folder something like this, make sure the folder is in the correct path otherwise the engine will not read it.
Example: $modelname "amiya\arknights\clancy\arms\amiya_arms.mdl"
So the Lua folder is where is the Lua file located, the materials folder where is the textures and materials or Vtf and Vmt, and models where is your model is located.
Ok, copy your folder into the steam\steamapps\common\GarrysMod\garrysmod\addons and paste it run the game, and enjoy! ^-^
